Basic Form Installation
Getform is the perfect solution for static sites that need a form backend, and works anywhere HTML forms can be rendered.
Basic Setup
To start using Getform to power your web forms, you'll need the following:
- A Getform account
- An HTML Form
- A unique form endpoint (generated by Getform)
Step 1 - Creating a simple HTML Form
In order to use Getform, you’re going to need an HTML form . If you don't already have one, you can start with the following example:
<form action="#" method="POST">
  <input type="text" name="name">
  <input type="email" name="email">
  <input type="text" name="message">
  <button type="submit">Send</button>
</form>
The action="#" determines where submitted data will be posted for processing.
Step 2 — Creating a new form endpoint on Getform
After creating and verifying your Getform account, you'll see "+" button to create a form endpoint. Simply name your form and click "Create Form".
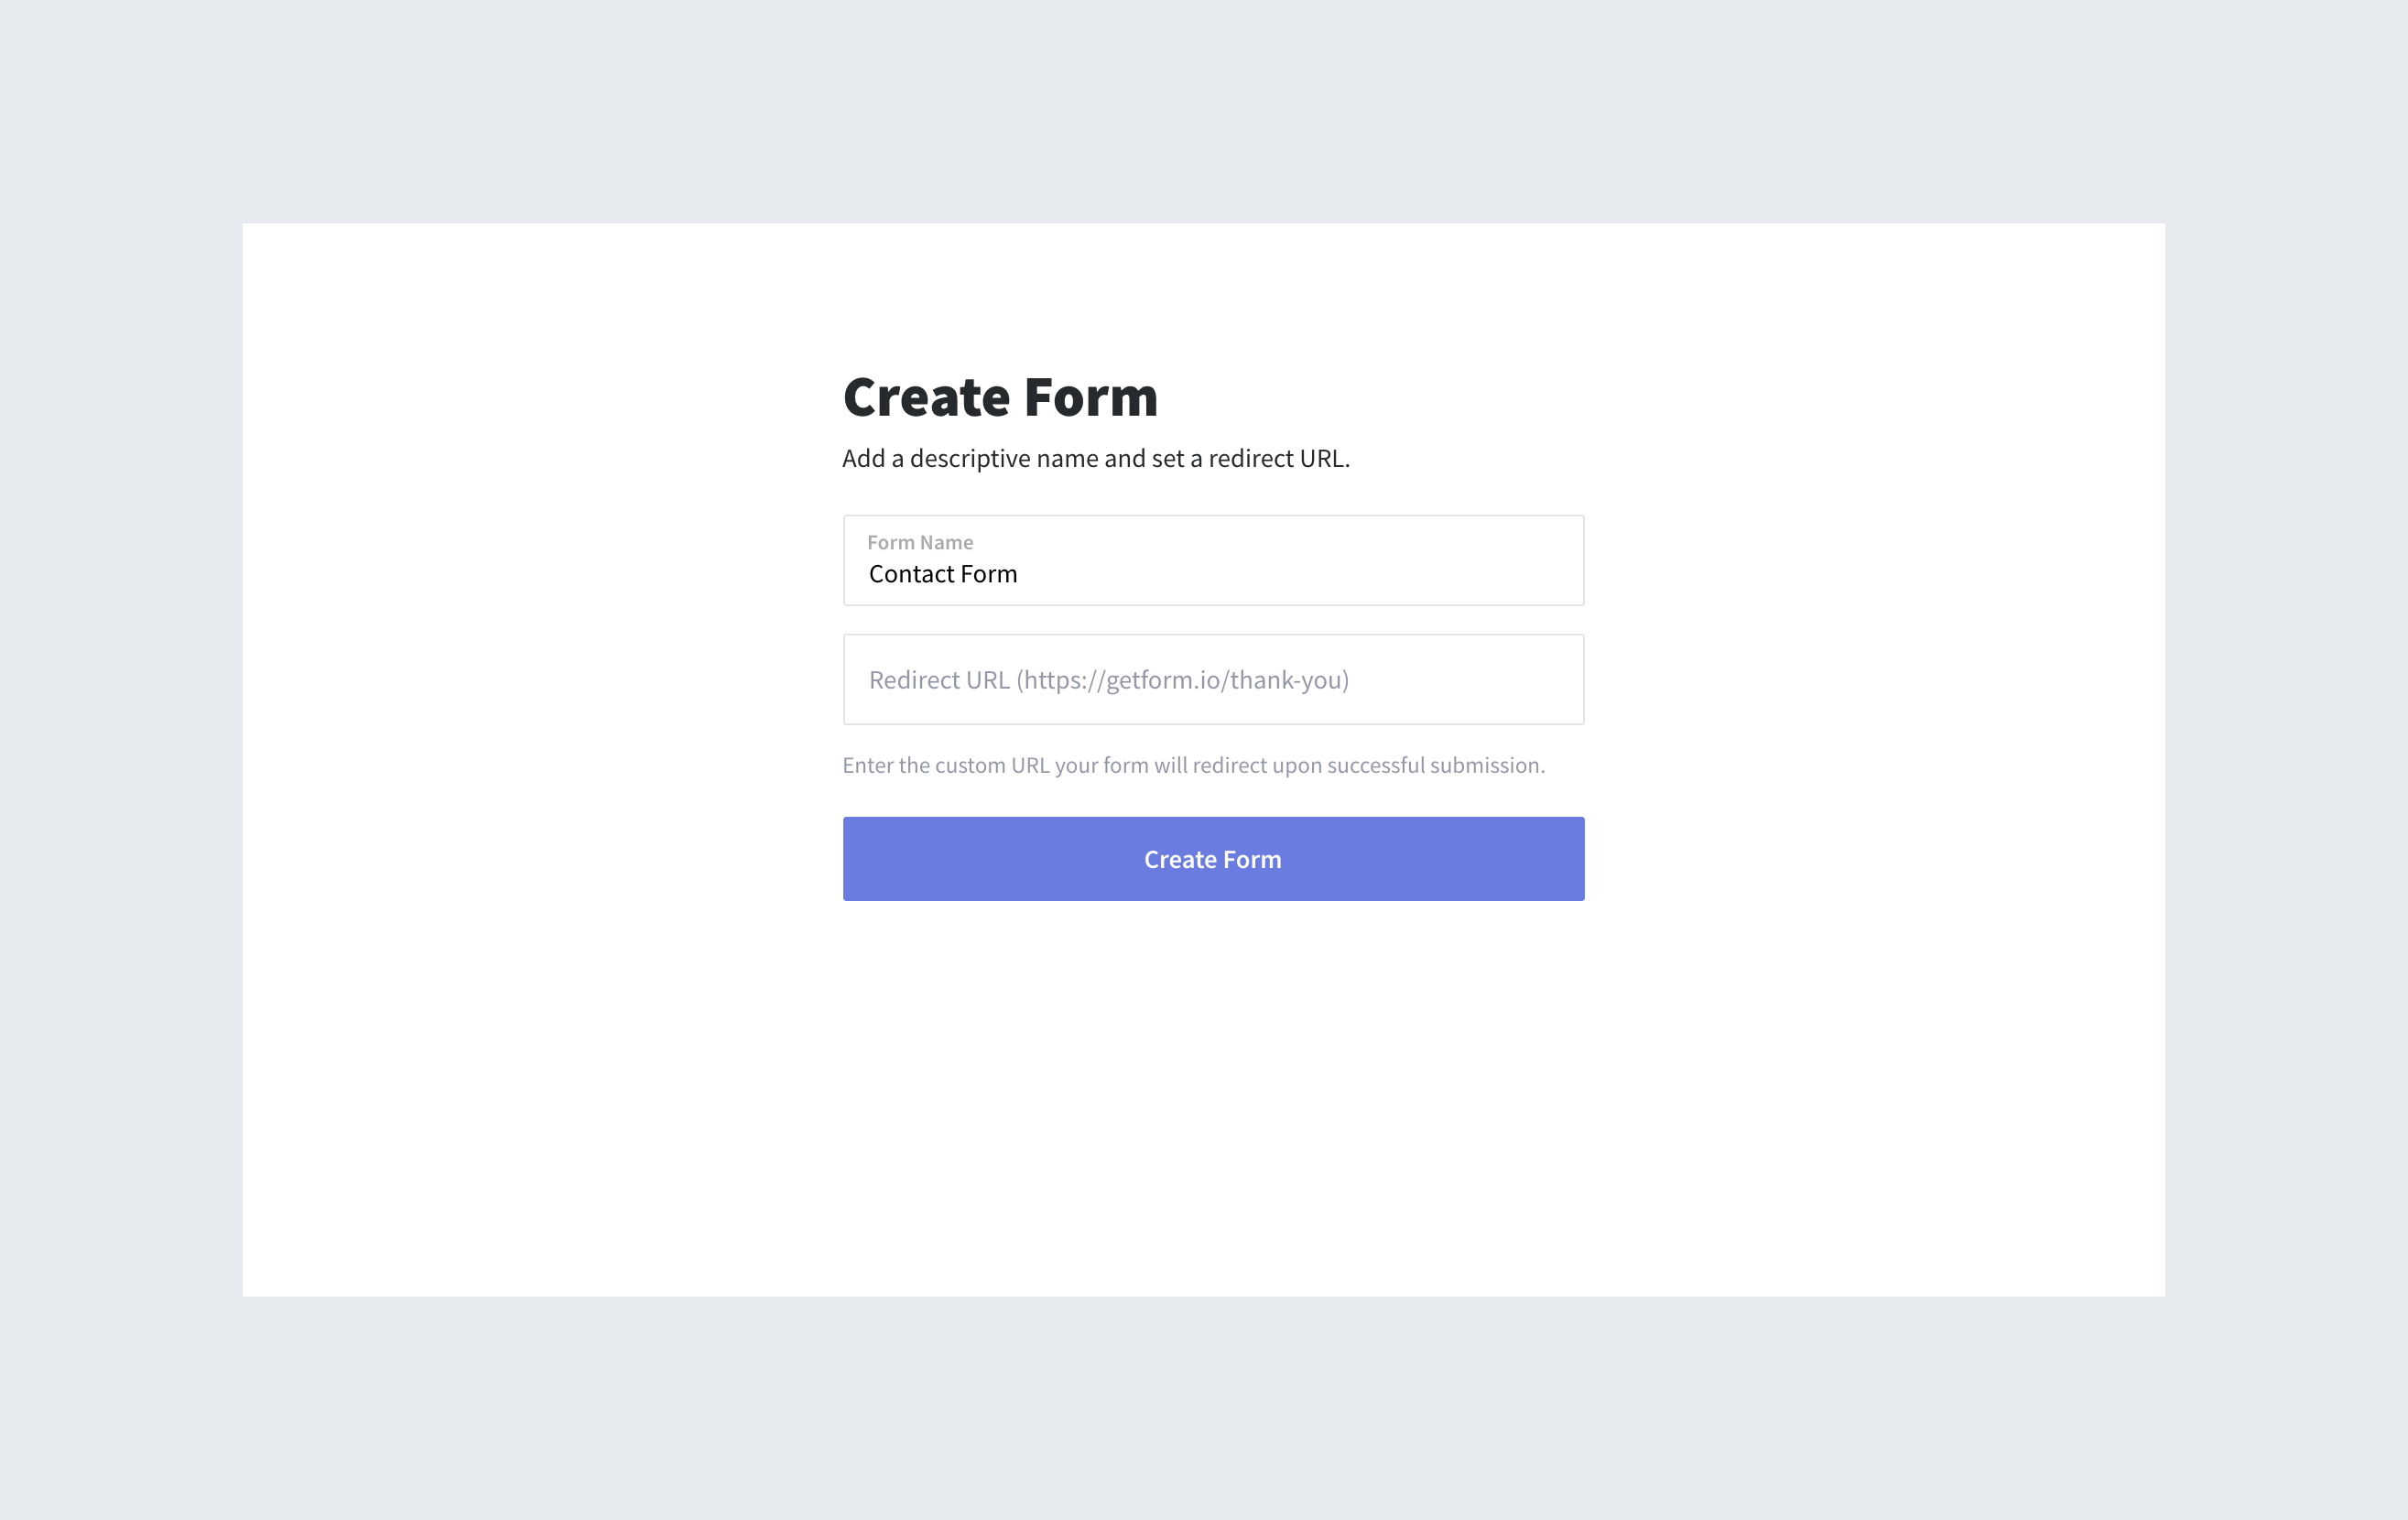
Important: You can set a custom redirect URL only if you have a premium plan. Forms of free plan holder will be redirected to https://www.getform.io/thank-you upon successful submission.
Step 3 - Completing Basic installation
After creating an endpoint, select the form you have created in your dashboard and head over to "Settings" > "Setup" tab to simply copy/paste the URL endpoint into your form’s action attribute. If you used the example form above, it should now look like this:
<form action="https://getform.io/f/579fb0d6-8050-4946-97ed-8fe839bbd5e0" method="POST">
  <input type="text" name="name">
  <input type="email" name="email">
  <input type="text" name="message">
  <button type="submit">Send</button>
</form>
And that's it. You’re all set to receive submissions.
Tips
Every form input field you added to your form must have the
nameattribute with a unique name.If you want to post your data using JavaScript, you should add a content type to your form tag. Supported content types are "Content-Type: json", "Content-Type: formdata", and "Content-Type: x-www-form-urlencoded"
If you want to get response message as JSON, then you must set the
HTTP Accept Headertoapplication/json.